


Barcode Setup
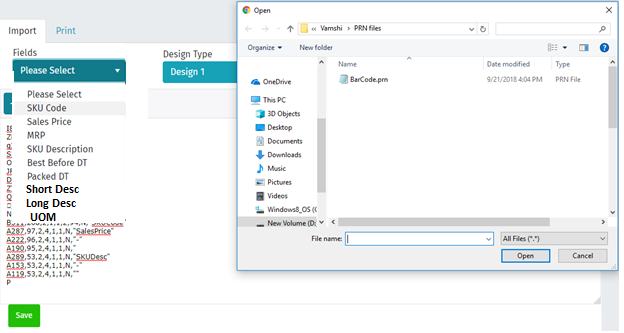
Barcode option is used to import the barcode design (PRN File) which we receive from the barcode vendor or from the customer. Click on the right arrow button to select the PRN File from the local system.
Select the PRN file. After selecting the PRN File, select the fields from the imported PRN file and then select the respective field name from the ‘Fields’ heading then the both will be connected. In the same way do for the other required fields also.
Click on Save button to save the design, if we need to create one more design, then change the design from ‘Design Type’.
In Field there are SKU Code, Sales Price, MRP, SKU Description, Best Before DT, Packed DT, Short Desc, Long Desc, UOM.

Printer tool
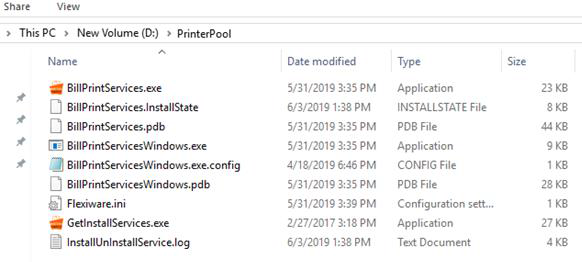
After above settings, we need to install the ‘Bill Print Service’ in the local system, where the Barcode printer is installed. For that copy and paste the ‘Printer Pool’ folder in the local system where the barcode printer is installed.
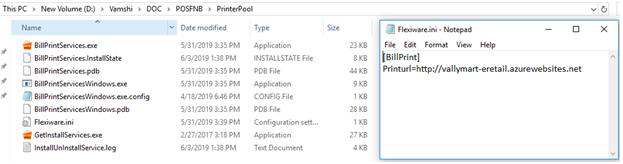
Open FlexiWare.ini file, at ‘Print URL’ give the application’s URL, at ‘Printer Name’ give name of the printer keep remain as it is and save the file.
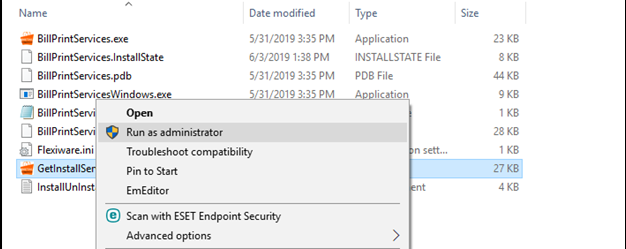
Now open the ‘Get Install Services’ exe by right clicking on it, and selecting the ‘Run as administrator’ option.
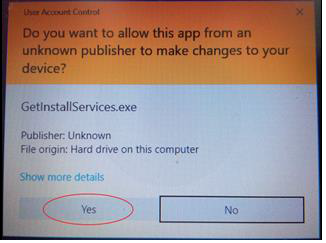
If it shows below screen, then select ‘Yes’ button.
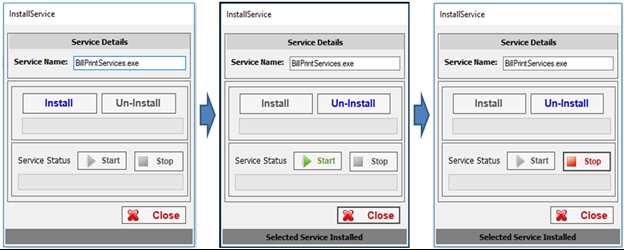
In the Install Service window, at ‘Service Name’ enter name of the service as ‘BillPrintServices.exe’ and click on ‘Enter’ button, after clicking the ‘Enter’ button the ‘Install’ button will be enabled click on the ‘Install’ button and finally click on ‘Close’ button to close the ‘Get Install Services’ module.
To print the designed barcode the barcode printer, go to the second tab that is ‘Print’. Under print select the printer, select the Design Type, select the Label Up, enter the number of copies of the labels, select the SKU Code, change the weight if it required, change the Packed Date, change the Best Before Date and click on the Print button to get the prints of the Barcode.
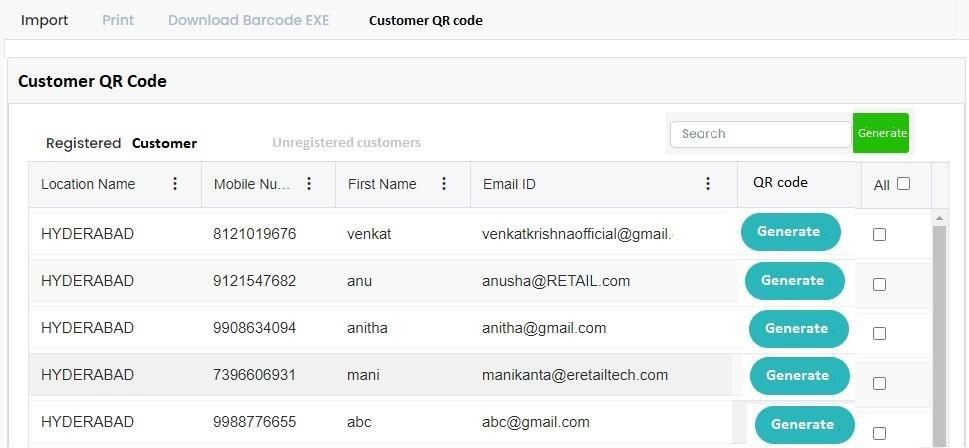
After clicking on customer QR code it should be display the Registered and Unregistered customers.
In registered customers where credit customer data will be loaded.
In unregistered customer all the customers data should be loaded except credit customers.
Here user can generate the QR codes with multiple selection of customers.
Once user click on generate then QR code should be generate with customer Code, name and mobile number.
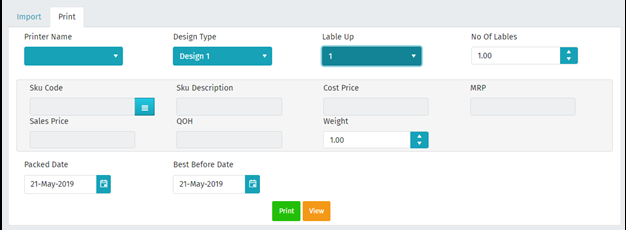
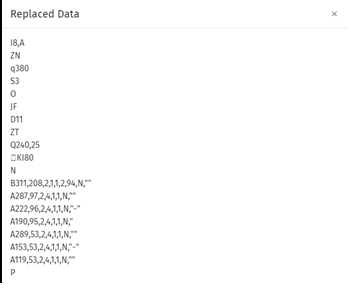
To see the PRN File view, click on ‘View’ button.
Customer QR Code: